Mastering the Repair Tool in Subnautica 2: Your Ultimate Guide
Welcome to the depths of Subnautica 2, where survival hinges on ingenuity and preparedness. Among your most essential early-game tools is the Repair Tool—a compact device that can restore damaged equipment, open sealed hatches, and save you precious resources. This guide breaks down everything you need to know, from finding its blueprint to crafting and using it effectively. Whether you're a seasoned diver or a newcomer, these Q&A sessions will help you get the most out of this versatile gadget.
What is the Repair Tool in Subnautica 2?
The Repair Tool is a portable welding device that mends broken machinery, vehicles, and structures. Its primary function is to restore the health of your tadpole (your starting submarine) when it takes damage from predators or collisions. Instead of scrapping and rebuilding, you simply aim and repair, saving both time and materials. Additionally, the tool can fix damaged hatches on wreckages, allowing you to access hidden compartments filled with loot, blueprints, or story items. It operates on battery power and is a core piece of your survival toolkit. Without it, you'll find yourself frequently rebuilding or missing out on vital resources, so obtaining it early is a game-changer.
Why is the Repair Tool important for early-game survival?
In Subnautica 2, resource management is critical. When your tadpole suffers damage from aggressive creatures like Boomers or environmental hazards, you have two choices: repair it or build a new one. Repairing uses only energy and the tool itself, while building a new tadpole requires rare materials like titanium and glass. The Repair Tool thus conserves resources that are better spent on upgrades, bases, or other tools. Beyond vehicle maintenance, the tool unlocks access to sealed areas—many wreckages have hatches that must be repaired before you can enter. These areas often contain technology fragments or nourishment pods. Because the Repair Tool can be acquired very early in the game, prioritizing it gives you a massive efficiency advantage, especially when resources are scarce and dangers lurk around every reef.
Where can you find the Repair Tool blueprint?
The blueprint for the Repair Tool is hidden in the Safe Shallows biome, but it's easy to overlook. Look for a small wreckage about 50 meters southeast of the lifepod, partially buried in sand and seaweed. Inside, you'll find a fabricator fragment that teaches you the recipe. Use your scanner to scan the fragment completely—it takes only a few seconds. Alternatively, you can sometimes find the fragment inside supply crates scattered near the pod, especially those wedged under coral tubes. The key is to explore thoroughly around your starting area; don't rush to deeper biomes. If you haven't scanned this fragment after an hour of gameplay, double-check the shallow zone near the thermal vents—the wreck is often hidden behind a rock formation. Once scanned, the recipe appears in your fabricator under the 'Tools' tab.
What materials do you need to craft the Repair Tool?
To craft the Repair Tool at your fabricator, you'll need: 1x Battery, 1x Silicone Rubber, and 1x Titanium. The Battery itself requires 1x Copper Ore and 1x Ribbon Plant (found in kelp forests), so you may need to gather these first. Silicone Rubber comes from Creepvine seeds (found in the grassy plateau), and Titanium is plentiful from scrap metal or limestone outcrops. If you're low on Copper, check the limestone outcrops on the seafloor near your lifepod—they break open to reveal either titanium or copper. For Ribbon Plants, swim into the kelp forest but watch for Stalkers. It's best to collect two of each resource to make a spare battery as well, because the Repair Tool drains power quickly. Once you have the materials, craft it in the fabricator's 'Tools' menu. The whole process can be done within the first 20 minutes of a new game.
How do you craft the Repair Tool in Subnautica 2?
After scanning the fragment and gathering the required materials, open the fabricator located in your lifepod's equipment room. Navigate to the Tools tab and select Repair Tool. The game will automatically consume 1 Battery, 1 Silicone Rubber, and 1 Titanium from your inventory. The crafting process takes about 10 seconds. Make sure you have an empty inventory slot; if you're carrying more than 6 items, storage may block the output. Once crafted, the tool appears in your hands. It functions like a welding gun—point at a damaged object and hold the fire button. A green holographic beam indicates successful repair. The tool consumes energy from its battery, so you'll need spares. Consider crafting a Battery Charger later to extend its life. For immediate use, keep a spare battery in your inventory to swap out when the first runs low.
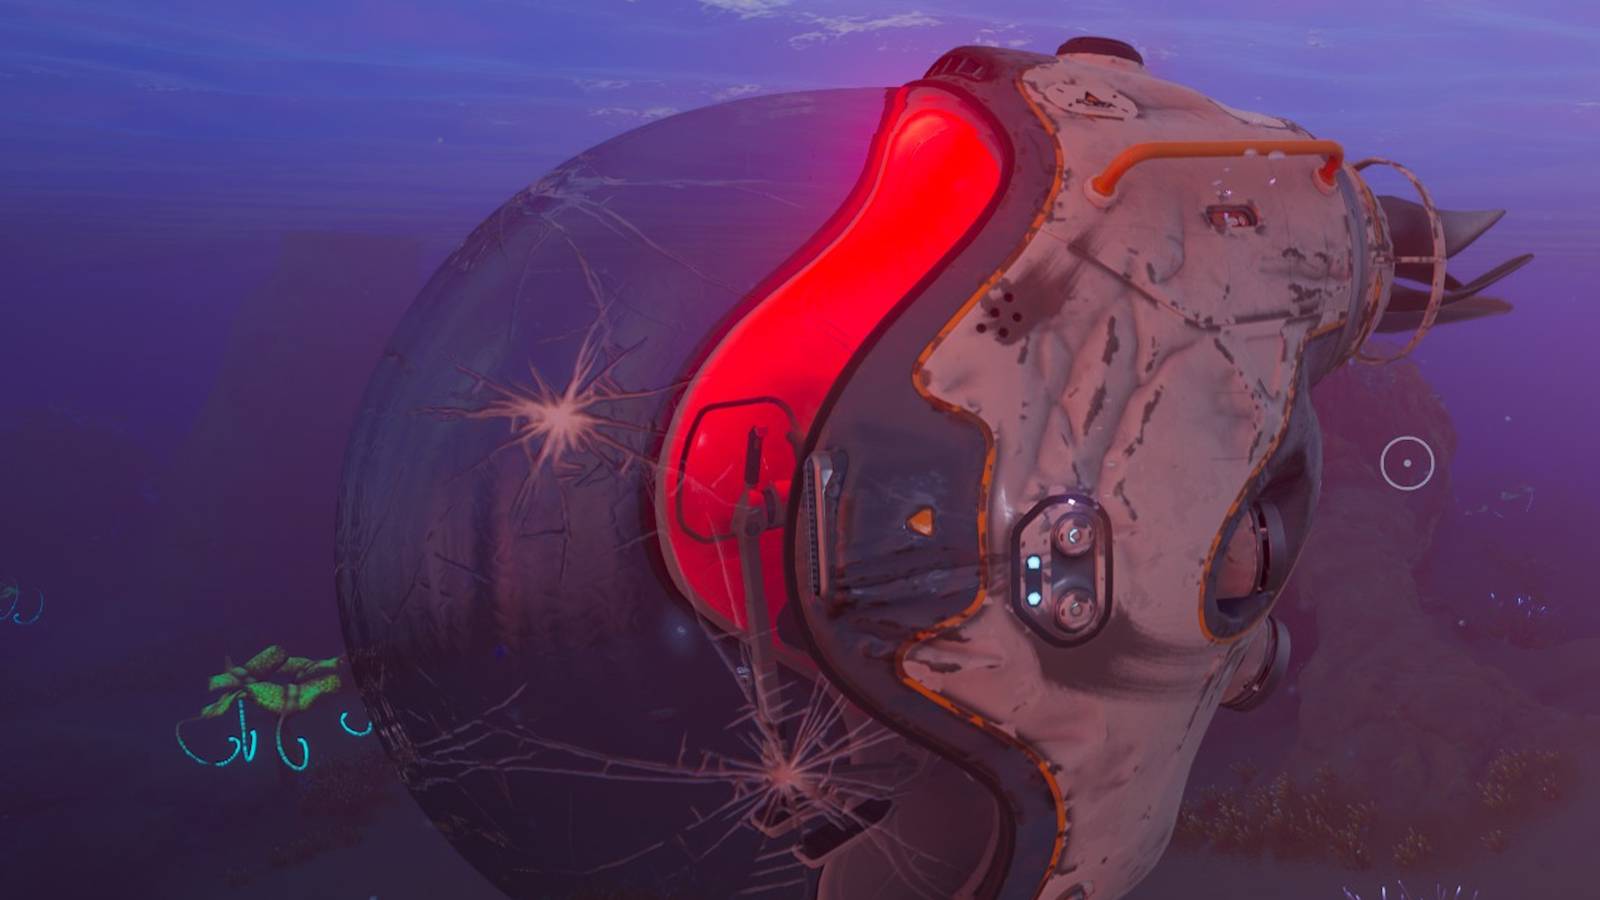
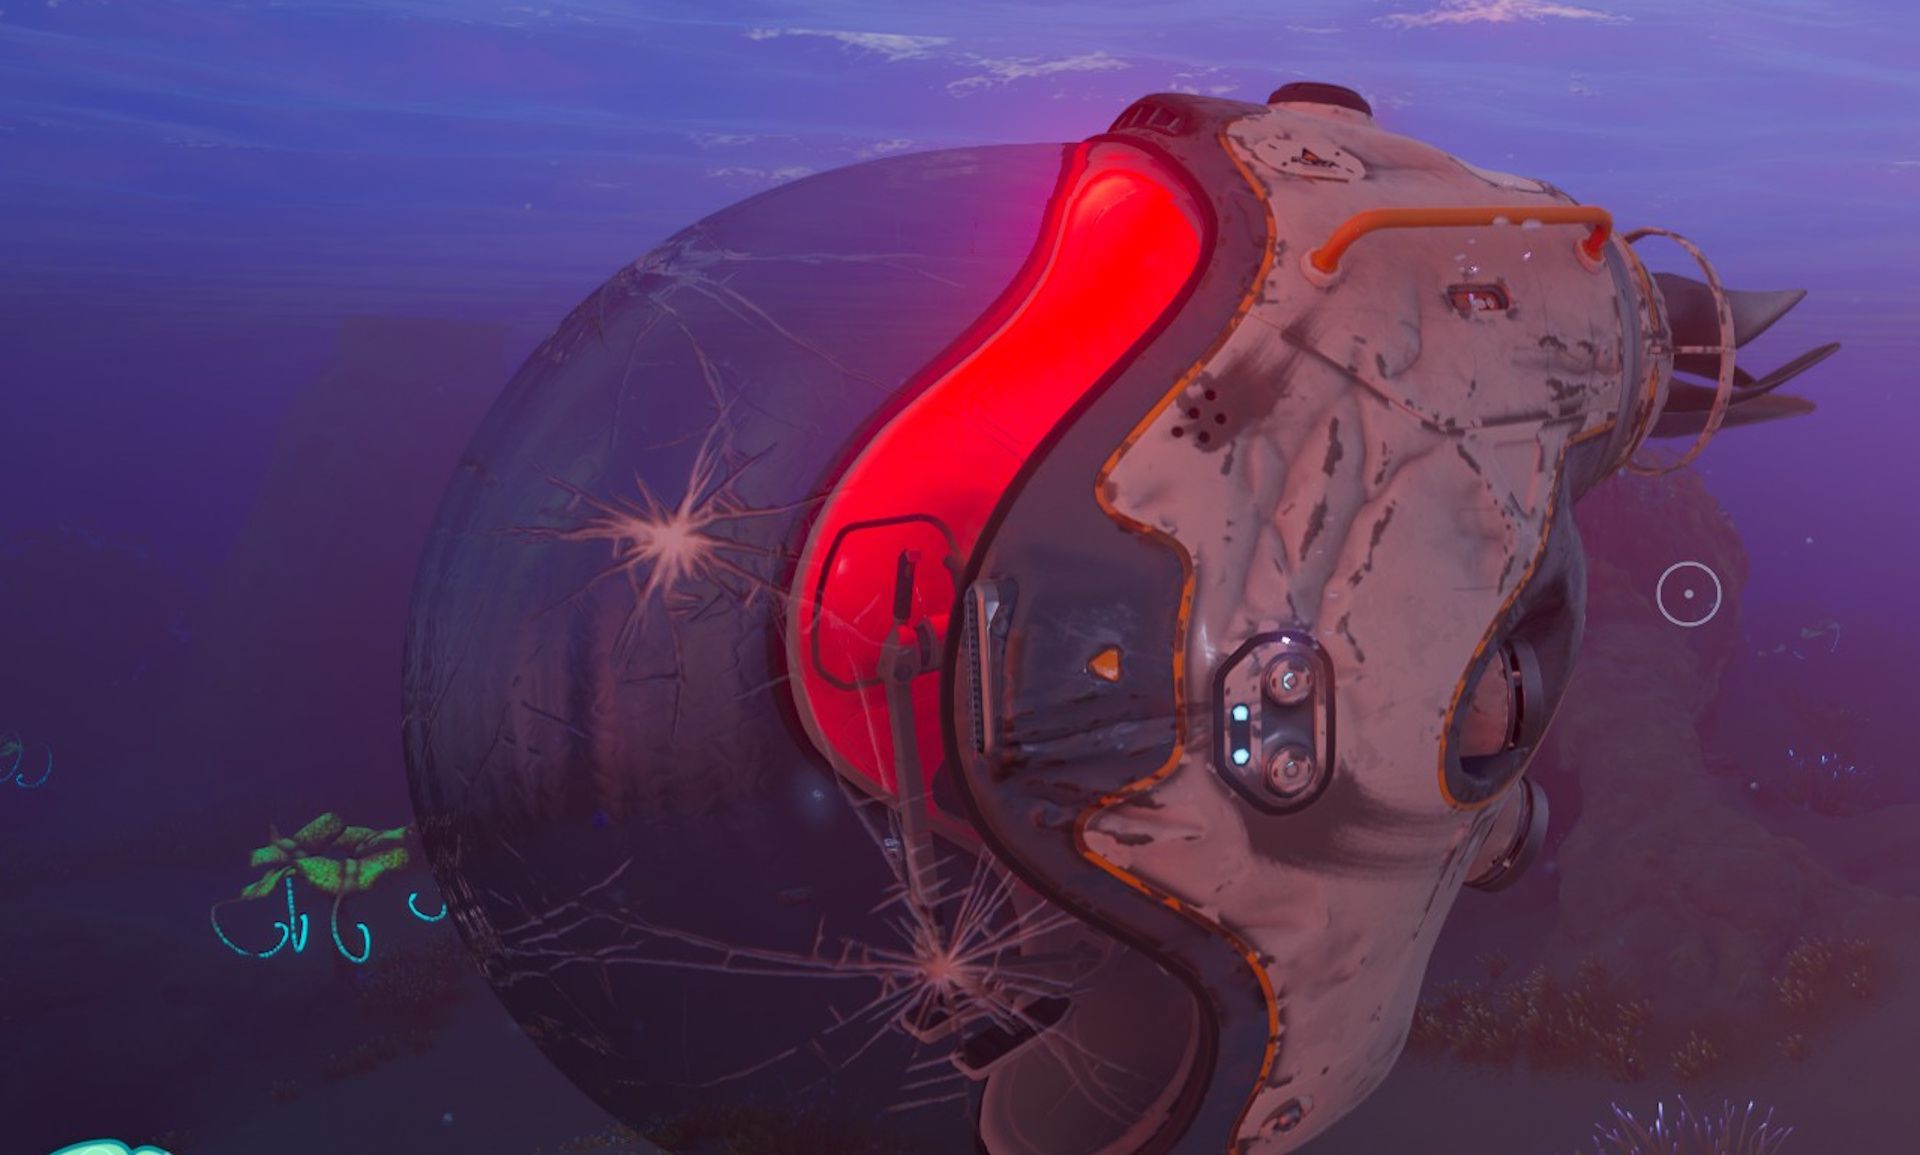
How do you use the Repair Tool to fix the Tadpole?
Your tadpole (the personal submarine) will inevitably take damage from collisions, creature attacks, or depth pressure. To repair it, simply equip the Repair Tool and swim up to the damaged area. Look for cracks or sparks on the tadpole's hull. Aim the tool at the damaged section—a targeting reticle will appear—and hold the fire button. A stream of nanites will seal the breach, gradually restoring the tadpole's health bar. The process takes about 5 to 10 seconds per major damage point. You can repair while outside the vehicle; you don't need to enter it. However, be aware that aggressive creatures like Boomers may attack you while you're repairing. It's wise to retreat to a safe spot or use a Stasis Rifle to freeze threats. After full repair, your tadpole returns to 100% functionality, allowing you to explore deeper without fear of sinking. Repair also works on other vehicles you may build later, like the Seamoth or Prawn Suit.
What are essential tips for getting the Repair Tool early?
To snag the Repair Tool within minutes of starting: 1) Scan everything near your lifepod—especially fragments inside small wrecks. 2) Collect Copper Ore immediately from limestone outcrops; you'll need it for the battery. 3) Grab Creepvine seeds (the glowy yellow things) from kelp forests to craft Silicone Rubber. 4) Prioritize the fragment over other blueprints; without the tool, you'll waste resources on repairs or miss access to supply caches. 5) Make an extra battery before your first excursion—your tool will run out fast. 6) Watch for Stalkers near the fragment wreck; they're attracted to metal but can be distracted with scrap. 7) Explore every nook of the Safe Shallows before moving to deeper biomes. The fragment is often hidden behind coral or under ledges. By following these tips, you'll have a fully functional Repair Tool before encountering serious threats, giving you a strong start in the alien ocean.